
Use a domain such as auth.example.com for Firebase Authentication instead of showing a Firebase-assigned hostname to your users. This guide covers Google sign-in and the action links in authentication emails.
Before starting, you need a Firebase project, access to its Hosting and Authentication settings, and permission to edit the domain’s DNS records. The examples assume your application already uses Firebase Authentication.
For a Chrome extension, also check the Firebase authentication and Blue Argon guide . A custom domain does not change the extension’s restrictions on remotely hosted code.
Custom Domain #
Open https://console.firebase.google.com/.
Click on Build -> Hosting
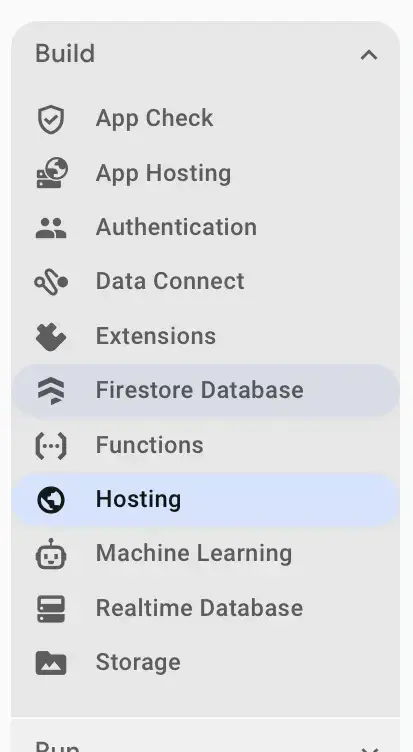
Setup Hosting #
If you have not finished it, wrap up the Get started.
Click through the steps until you are done.
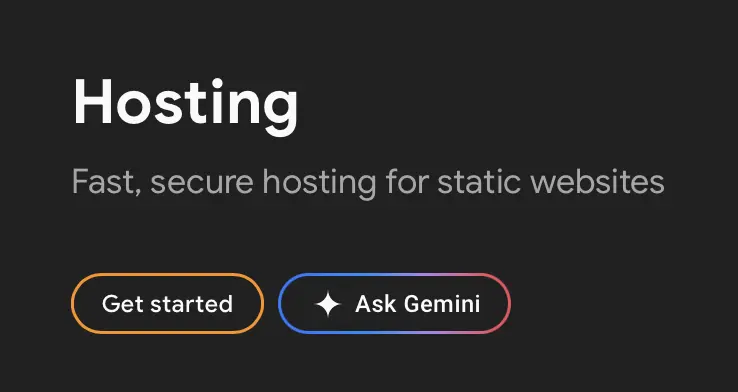
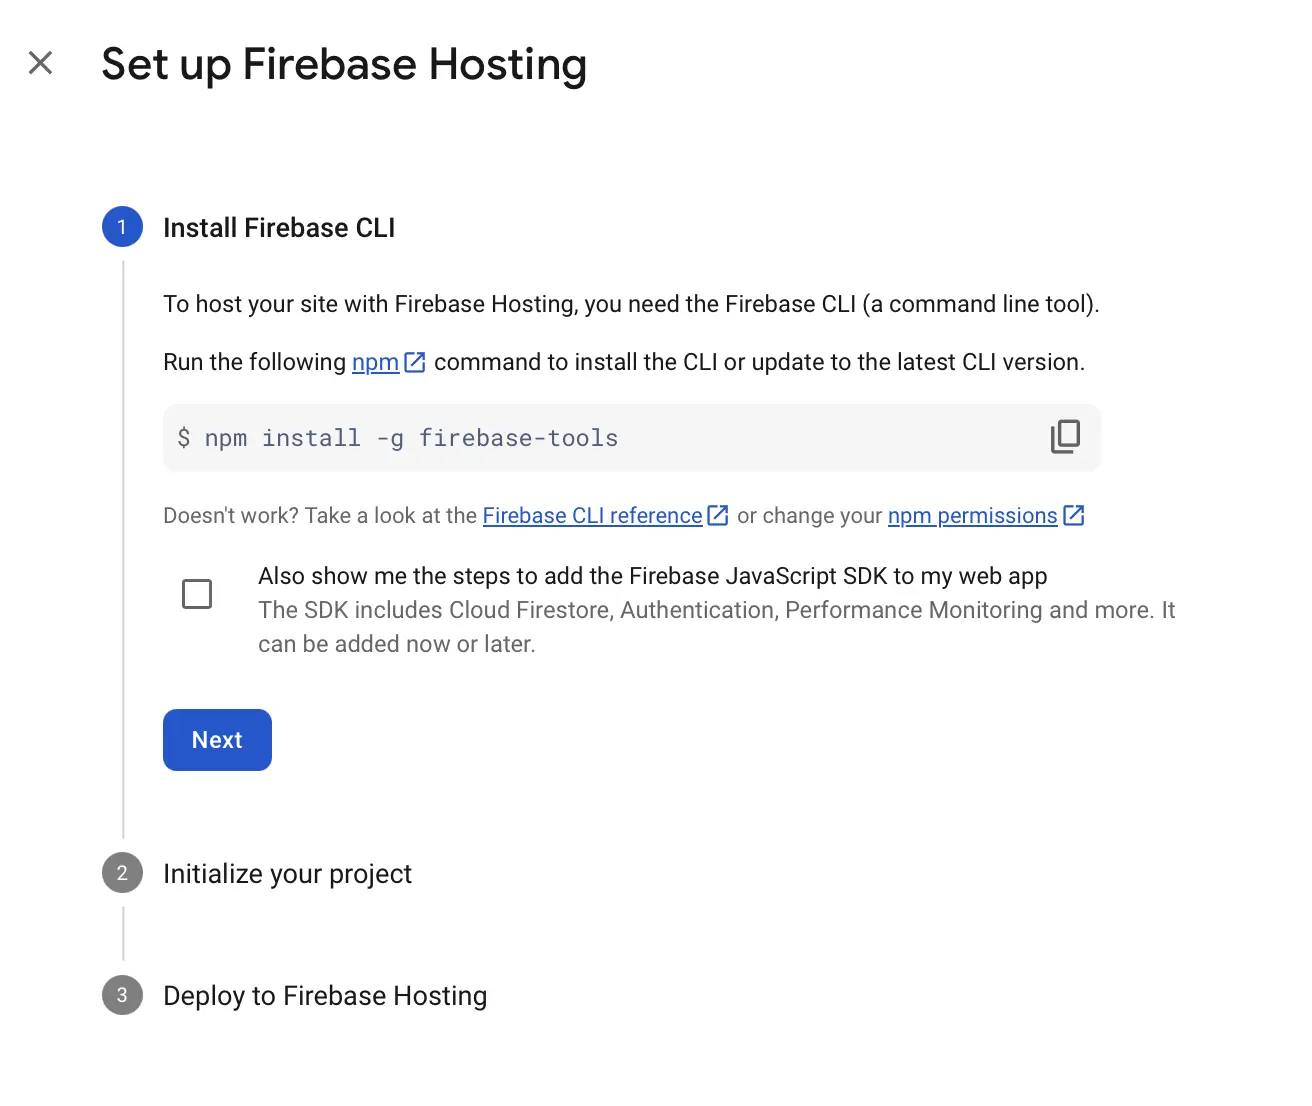
Dashboard (Hosting) #
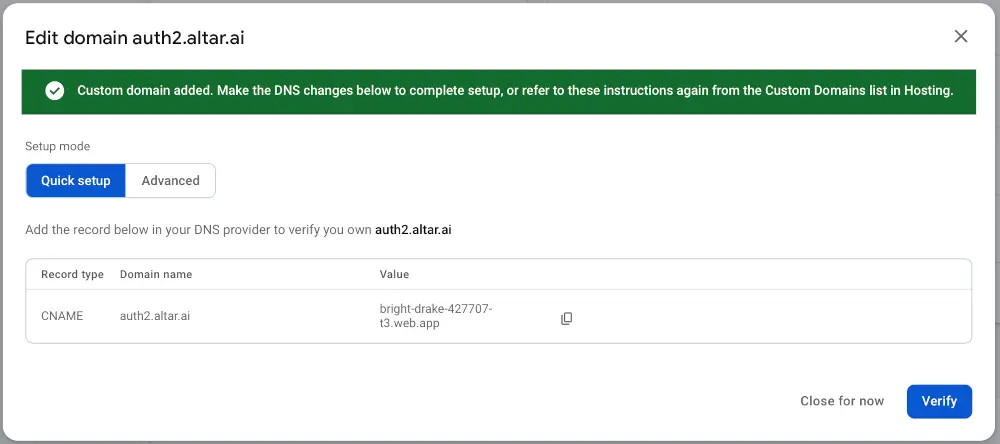
When you are in the Dashboard screen, click on Add custom domain and type in the domain you would like to add.
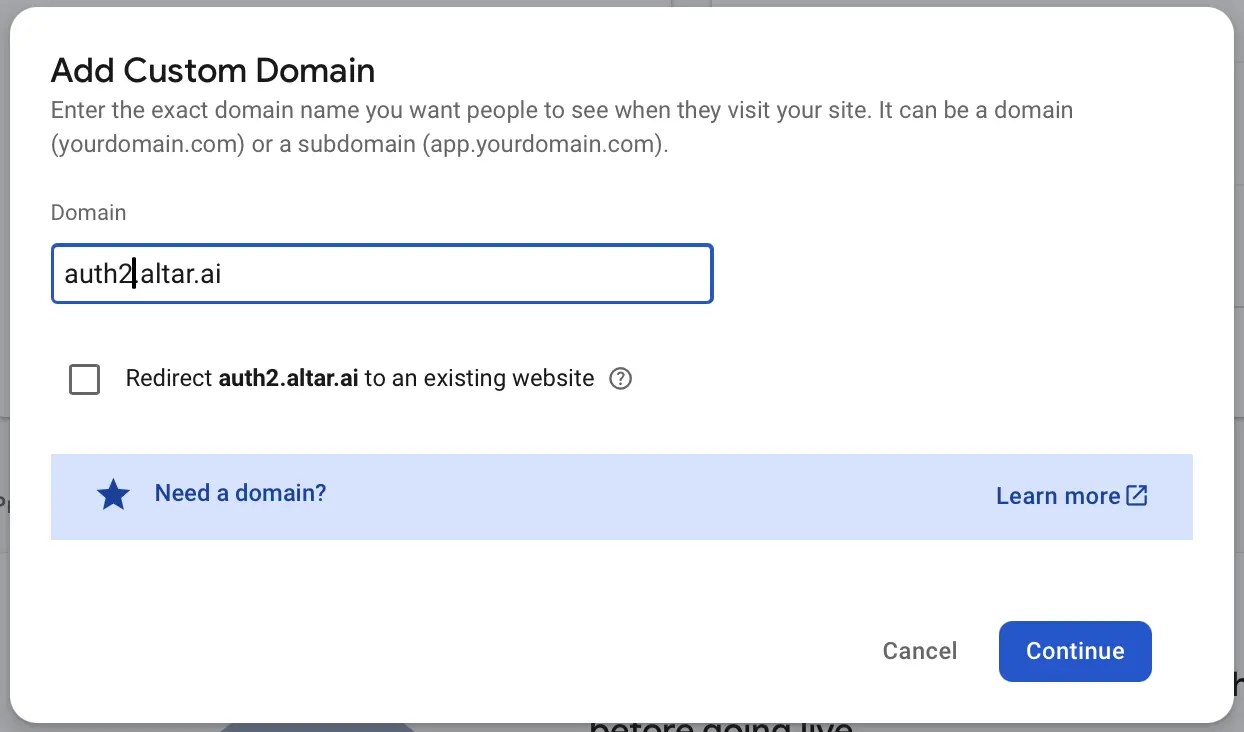
Afterward, you are presented with a screen to set up the DNS for your domain. This is usually a CNAME entry which will redirect to your Firebase domain.
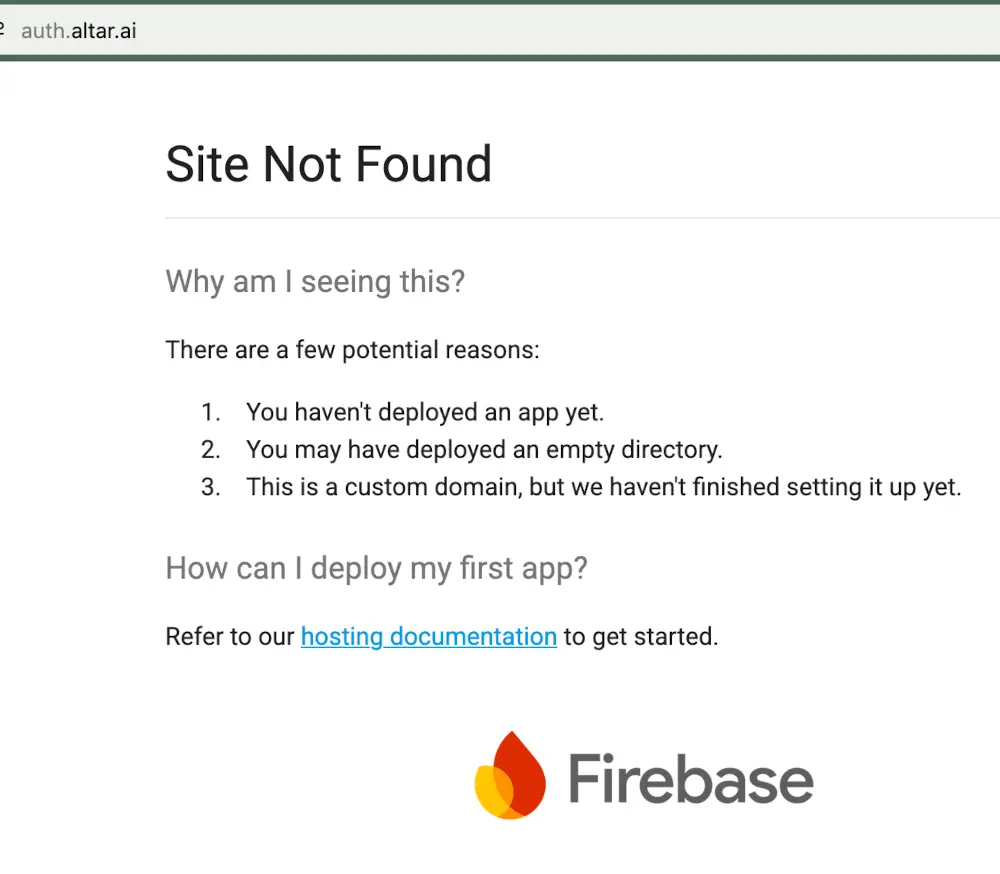
If you have set up the DNS properly, you should see something like “Site Not Found”
Try the authentication callback, open your domain like https://<DOMAIN>/__/auth/handler. You should see this error message:
Unable to process request due to missing initial state. This may happen if browser sessionStorage is inaccessible or accidentally cleared. Some specific scenarios are - 1) Using IDP-Initiated SAML SSO. 2) Using signInWithRedirect in a storage-partitioned browser environment.
If this error appears, you’re on the right track to adjust your login URLs.
Email Templates #
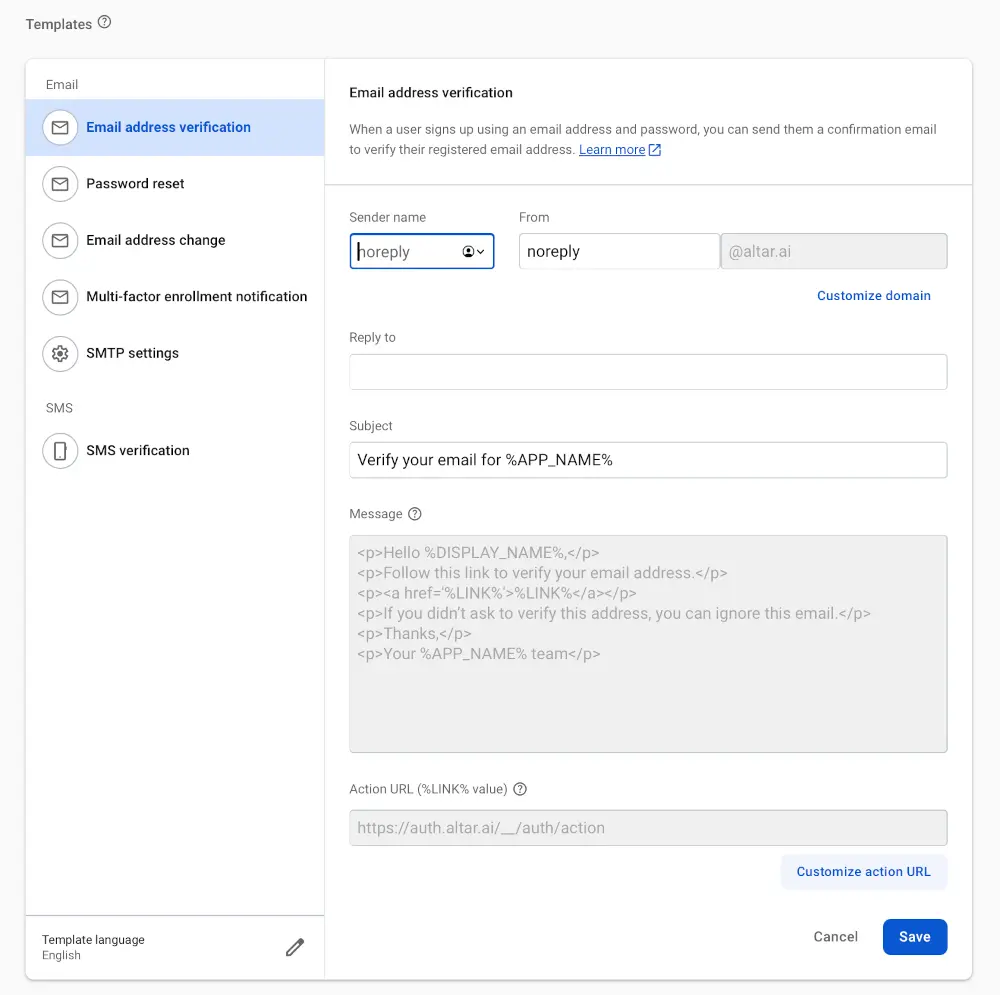
You now want to update the Email Template Actions, so that the emails sent (for example password forget) by Firebase will use your custom domain.
Navigate to Build -> Authentication -> Templates.
Customize Domain #
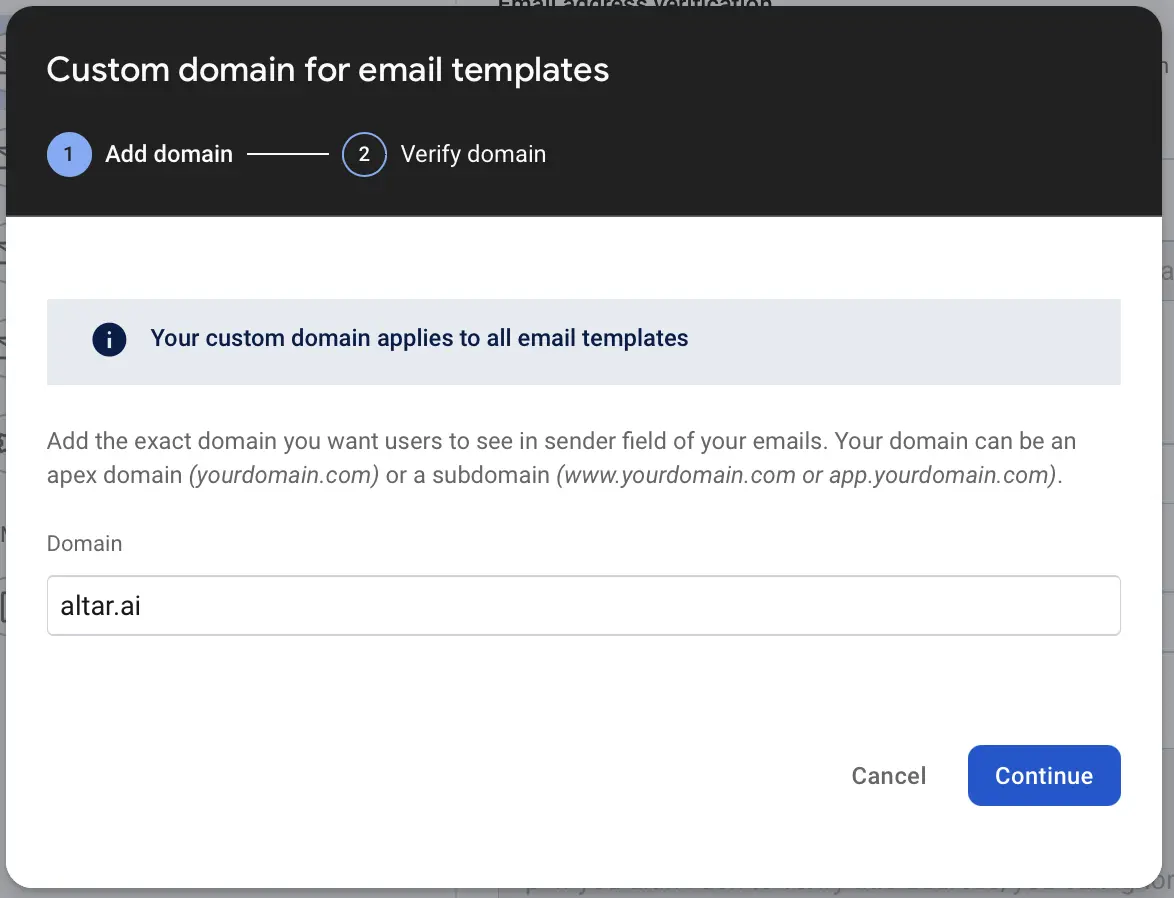
Click on Customize domain in the top right and follow the prompts to add your custom domain.
Custom Action URL #
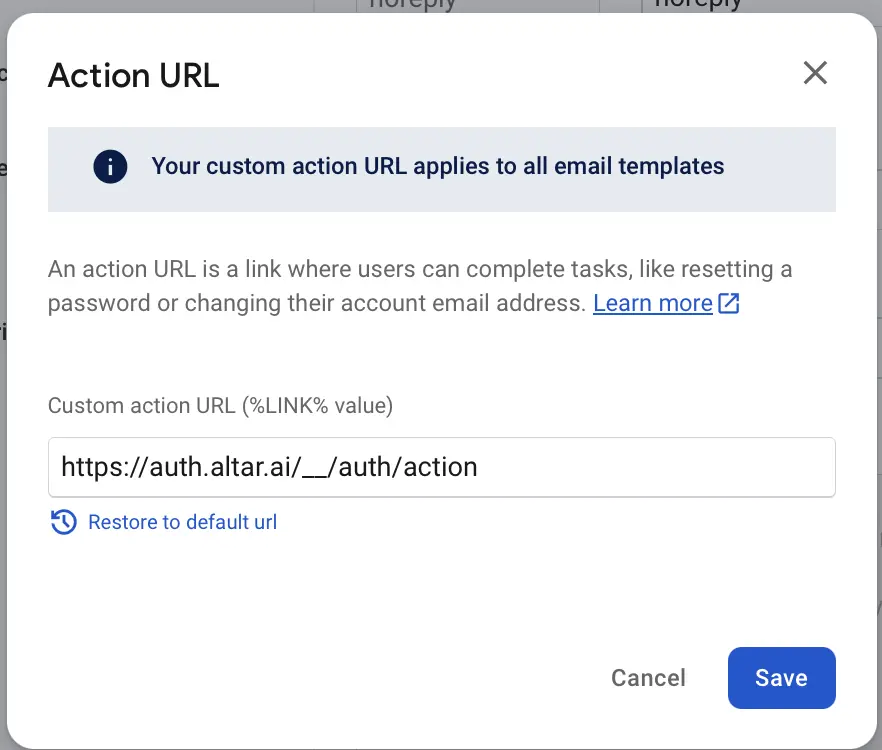
Click on Customize action URL on the bottom right.
Adjust the URL and make sure to add this path /__/auth/action:
It should look like this:
https://<DOMAIN>/__/auth/action
Code Firebase Config #
Finally, you can change the authentication domain in your Firebase config.
const FIREBASE_CONFIG = {
  authDomain: 'auth.altar.ai', // change this to your new authentication domain
  // other properties
};
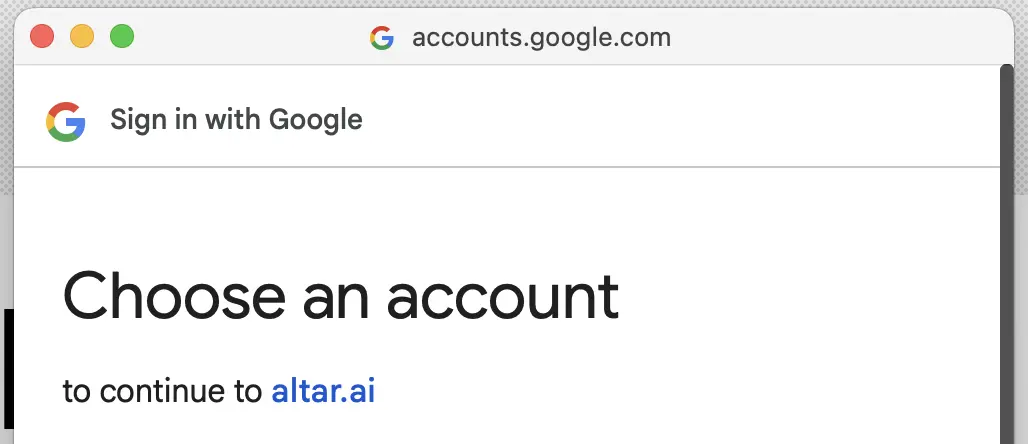
When you use Google authentication, the dialog should look like this.
Conclusion #
This guide should have given you a good overview what is necessary to configure your custom domain for Firebase. If you have any questions or suggestions, feel free to reach out!
Contact me at [email protected]